又进入了新的一月,又到了服务器续费的时候。由于我前些天把我的 travel blog 变成静态页面了,因此原本 serve 了它一段时间的服务器也可以注销掉了,不过服务器上还存有一些需要保留的文件,于是今天想把这些文件放到 Dropbox 中。
参照 官方安装页面,先运行以下命令下载并解压 Dropbox。
$ cd ~ && wget -O - "https://www.dropbox.com/download?plat=lnx.x86_64" | tar xzf - 然后在 home 目录就会产生一个 .dropbox-dist 目录,同样参照以上官方安装页面,运行这个目录下的 dropboxd 来启动 Dropbox 守护进程。
$ ~/.dropbox-dist/dropboxd 我在运行这句命令之后这段程序执行了一些指令后报错。(我使用的是 Ubuntu 20.04 LTS)
于是立马在 DigitalOcean 中找到答案,我缺少了一些依赖,运行以下命令解决此问题。
$ sudo apt install libc6 libglapi-mesa libxdamage1 libxfixes3 libxcb-glx0 libxcb-dri2-0 libxcb-dri3-0 libxcb-present0 libxcb-sync1 libxshmfence1 libxxf86vm1 安装依赖后,运行上述命令,得到以下输出:
根据提示需要打开 URL 登录自己的账号以绑定这台服务器。打开后界面如下。
如果自己的 Dropbox 账号是通过 Google 或者 Apple 登录的话,需要先登录自己的账号设置一个密码才能在这里登录。
登录之后,控制台会出现一句话,
This computer is now linked to Dropbox....
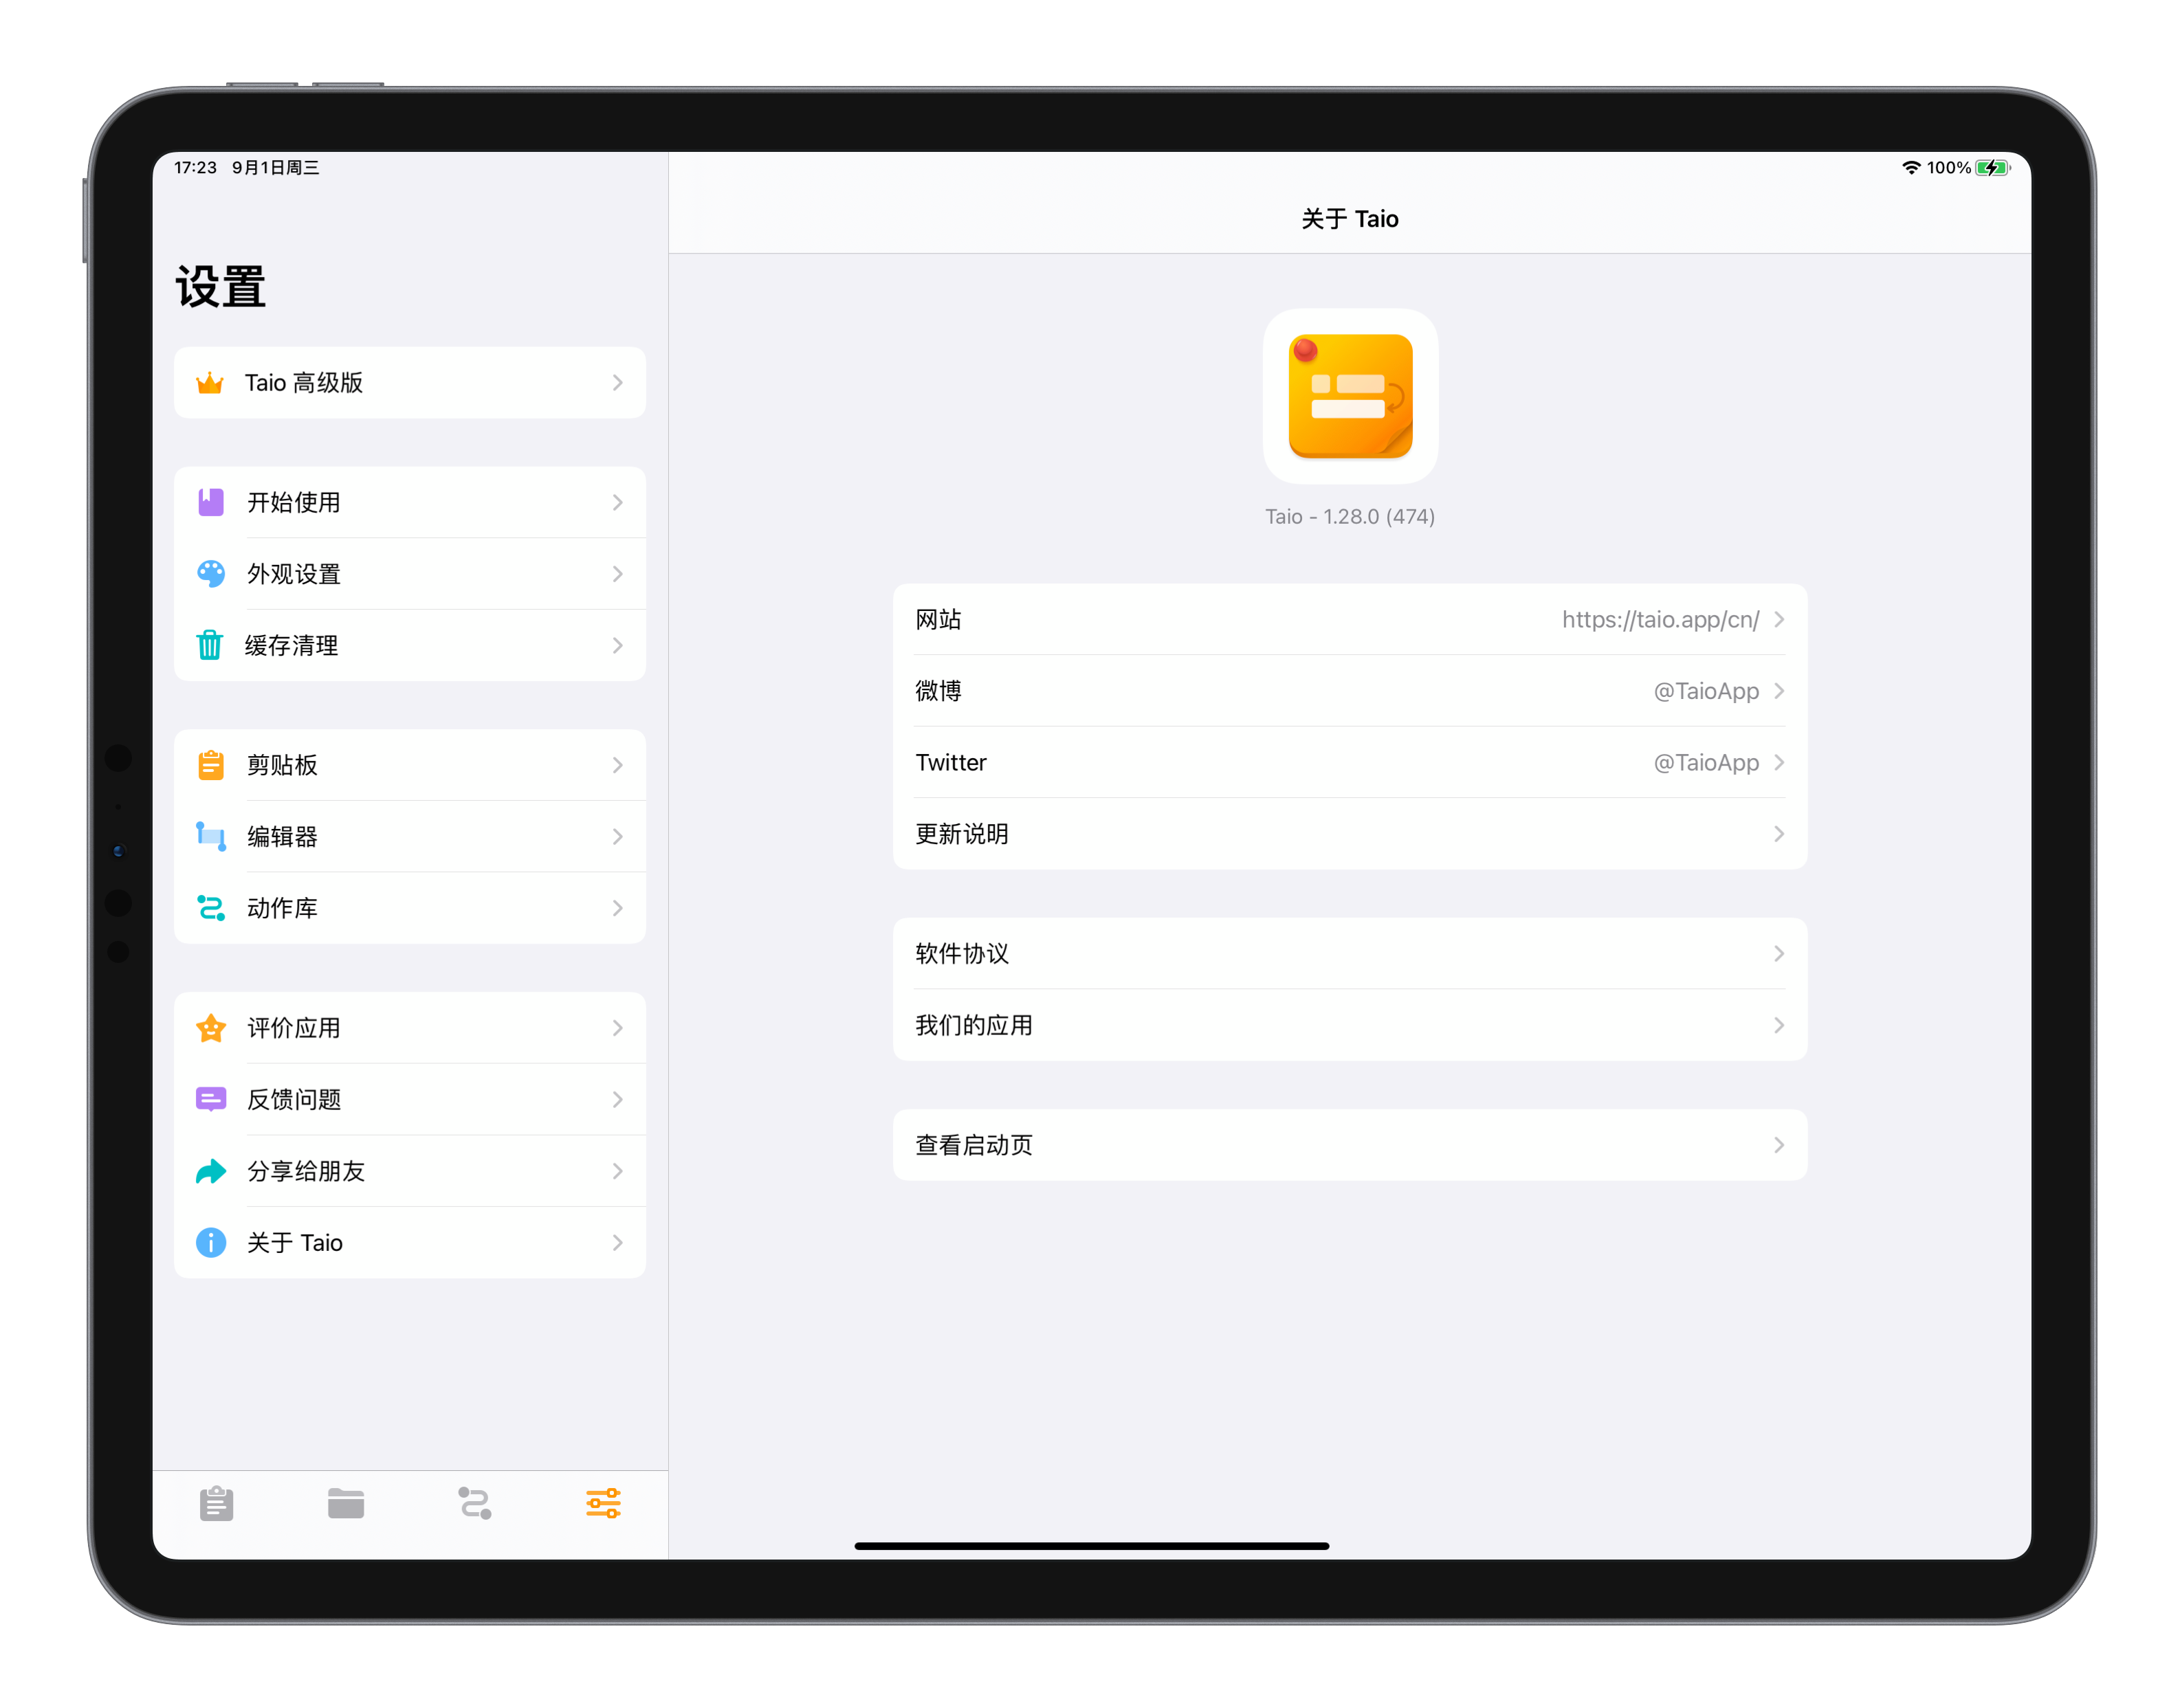
如何在 iPad Pro 上高效地使用 Taio 创建 Hugo blog
本文来自生产力 ℙ𝕣𝕠𝕕𝕦𝕔𝕥𝕚𝕧𝕚𝕥𝕪 系列文章。
我们知道,在一台安装了 Hugo 命令行工具的电脑上,只需运行命令
$ hugo new ... 即可创建一个新的 blog。
为了发挥 iPad Pro 的「生产力」属性,我使用 Taio 的「动作」实现了此命令,因此可以在 iPad Pro 上高效快速地撰写 blog。
首先使用「Working Copy」拉取 GitHub 上的 blog 远程仓库。
然后打开 Taio,将刚刚拉取下来的远程仓库的本地地址添加到 Taio 的「添加的位置」中。
添加完成后,在「动作库」中创建新动作,取名叫「Create a Hugo blog」。
以下是一个创建新 blog 的简单版本,运行之后会要求输入 blog 目录名,标题,以及类别,然后会在当前目录下创建这个目录,以及这个目录下的 index.md。
PS:这里添加到 blog 的当前日期符合 ISO 8601 标准,时间格式为 yyyy-MM-dd'T'HH:mm:ssxxx
然后将写好的动作拖移到「编辑器」文件夹中,意味着可以在编辑器的快捷动作里运行。
在某一分类文件夹下的任意文件里,点击右上角的闪电标志,运行「Create a Hugo blog」即可。
使用 Taio 写完整篇文章后,最终回到「Working Copy」,Commit & Push 自己的更改。剩下生成 HTML 的环节就交给 Travis CI 或者 GitHub Actions 去完成,详细配置请看 使用 Travis CI 自动部署 Hugo 站点...
使用 GitHub Actions 自动部署我的 travel blog 站点
前情提要:在我的 travel blog 的仓库根目录下,有一个叫 gotravel 的文件,运行该文件即可自动生成网站,因此 GitHub Actions 只需要在我每次 push 之后运行这个文件再提交一次就可以了。
在 GitHub 仓库内点击菜单栏的 Actions,然后选择 set up a workflow yourself
然后就会跳转至新建文件页面,以及 GitHub 自动生成最初的 main.yml 文件。
# This is a basic workflow to help you get started with Actions name: CI # Controls when the workflow will run on: # Triggers the workflow on push or pull request events but only for the master branch push: branches: [ master ] pull_request: branches: [ master ] # Allows you to run this workflow manually from the Actions tab workflow_dispatch: # A workflow run is made up of one or more jobs that can run sequentially or in parallel jobs: # This workflow contains a single job called "build" build: # The type of runner that the job will run on runs-on: ubuntu-latest # Steps represent a sequence of tasks that will be executed as part of the job steps: # Checks-out your repository under $GITHUB_WORKSPACE, so your job can access it - uses: actions/checkout@v2 # Runs a single command using the runners shell - name: Run a one-line script run: echo Hello, world!...
就在最近两天,我思考到关于如何做一个让知识体系更显而易见的个人网站时,想到了一个可以用一个程序来实现展示各网站关联的点子:类似于一个知识体系的构建,知识点 A 关联到知识点 B,知识点 B 关联到知识点 C,每个站点会指向它内部所含的链接的站点。
程序写出来之后首先就想要测试的就是 Wikipedia 的词条,经过域名过滤和标题过滤(让链接仅指向 Wikipedia 的站点而不是某些参考文献),原站点指向的站点实在是太多,图片上的字都有点看不清了。(以下是 Python 词条搜索 3,000 次的结果)
然后再试了一下 Apple 的中国官网,图比较密集所以将画布放大了一倍
本工程的 GitHub 链接...
使用 Travis CI 自动部署 Hugo 站点
在 GitHub 仓库内创建 .travis.yml 文件并添加以下内容后,即可自动部署此 Hugo 站点。
dist: bionic addons: snaps: - hugo install: - cd ./src/ - git submodule update --init --remote script: - hugo -D after_script: - cd .. - git config --global user.name "Travis CI" - git config --global user.email <your-email> - git remote set-url origin "https://${GITHUB_TOKEN}@github.com/<username>/<repo-name>.git" - git checkout main - git add . - git commit -m "Update Blog By TravisCI With Build $TRAVIS_BUILD_NUMBER" - git push origin 记得在 travis-ci....
Now, here is another new place to inspire and create amazing things. There is not much space here, but it brings extraordinary encouragement.
I will always love, and pursue love....